
Turn Photos Into Coloring Pages
Upload a photo as a reference image. Make printable coloring pages, simplify or empty the background, or restage the same subject in a new scene.
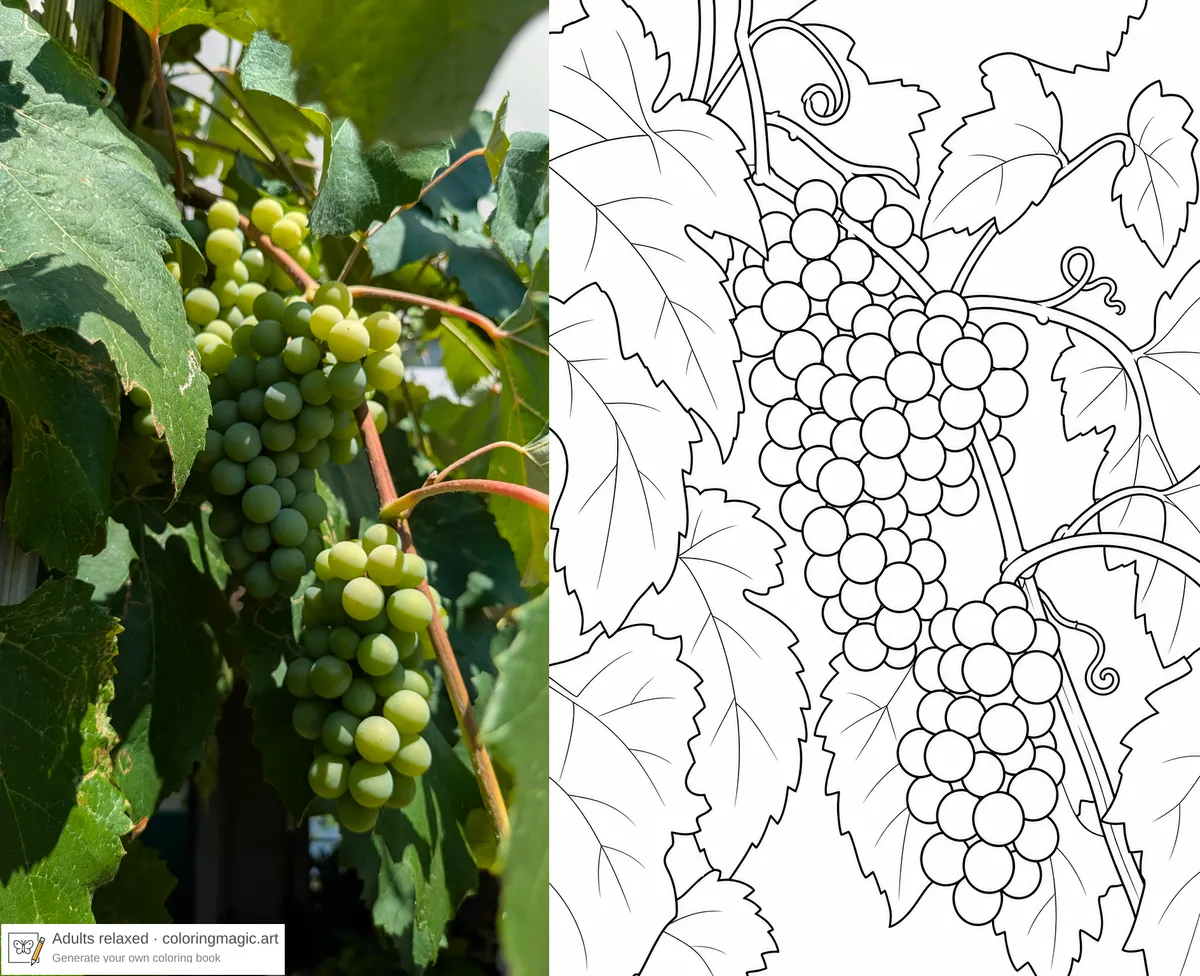
You don't have to start a coloring book from a typed idea alone. Attach a photo as a reference image — the AI looks at it for every page — and it draws printable coloring-page line art, not a cheap photo filter.
That's the difference from most “photo to coloring page” converters. Those tools usually trace whatever is in the frame. Here the photo is a subject source. You still get clean black outlines on white. And you can ask for a simpler background, no background, or a totally new setting.
This guide uses real garden phone photos: gooseberries, tomatoes, lupines, and grapes. Same Create with AI wizard from Create Your Own Coloring Book — just with Add reference images turned on.
Need the same cartoon face on every page instead? That's a different job: Keep Characters Consistent Across Coloring Pages.
If you want a product overview first, read What Coloring Magic Art Can Do. Preview the line quality with our free weekly samples before you spend any tokens.
What reference images do
A book can hold up to 3 reference images (PNG, JPG, or WebP). They apply to every AI page in that book: the first wizard batch, pages you add later, and regenerations.
They do not apply to pages you upload yourself.
Use a photo when you want the real subject — a plant, a pet, a place. One strong image is enough for every example below.
Other sites often keep photo conversion in a one-shot converter that only traces. Here the same Reference images field can stay close to the photo or restage it. Your prompt decides.
How to add a photo
Step 1 — Open Create with AI
Go to My Books and click Create with AI. The wizard opens on Step 1 of 3 — Configure.
Step 2 — Turn on Add reference images
Flip Add reference images and drop your photo. The help text is: Up to 3 photos or character sheets. Used for every AI page in this book.
Step 3 — Describe what should happen
Write the book in plain English. Name the photo, then say what to change. Short examples:
- Turn this reference photo into a coloring page. Simplify the background.
- Keep only the flowers and leaves from the reference. Empty background.
- Three coloring pages of grapes from the reference, each with a different composition.
Set page count, layout, and age range so the linework matches who will color. adult-relaxed or adult-detailed fits these garden photos.
Click Draft pages when the description looks right.
Step 4 — Check that prompts mention the subject
On Step 2 of 3 — Prompts, read every page. The drafted text should describe the thing in your photo, not a random still life. Edit freely — prompt drafting doesn't use tokens.
Step 5 — Generate and download the PDF
Click Generate. The editor fills in pages as they finish. When the set looks right, download one print-ready PDF and print at home or at a copy shop.
Need a cover? Add one in the wizard or later — see How to Add Front and Back Covers.
After the book exists
Change the photo any time in Book settings. New AI pages and regenerations use the current set. Jobs already in flight keep the snapshot they started with.
Turn a photo into coloring pages (and change it)
These examples are garden phone photos at adult-relaxed or adult-detailed, on GPT Image 2. The sample PDF pairs each photo with the coloring page(s) made from it — gooseberry, tomato, lupine, and grapes. Landscape and portrait pages sit together on purpose.
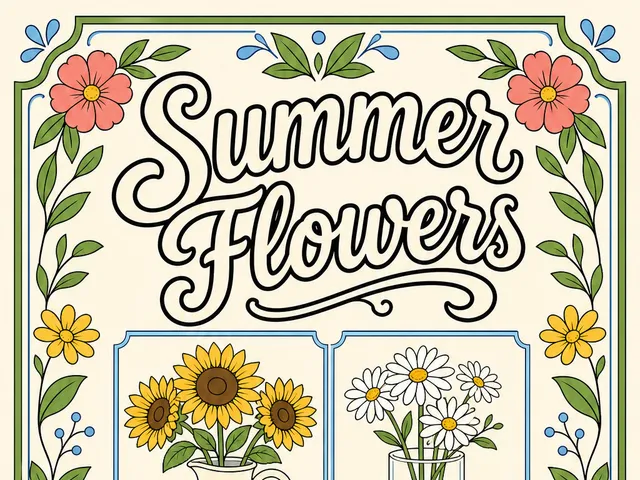
The same prompts work for a pet, a toy, or a houseplant. Related flower books: Summer Flower Coloring Pages and Relaxing Summer Flowers.
Simplify the background
The shortest useful brief:
That's the gooseberry-branch book. Keep the fruit and leaves readable, and drop the busy garden behind them to a faint shed and shrubs.
A tomato vine can keep a little more of the setting — the wooden bed edge and mulch — while still reading as a coloring page:
Empty the background
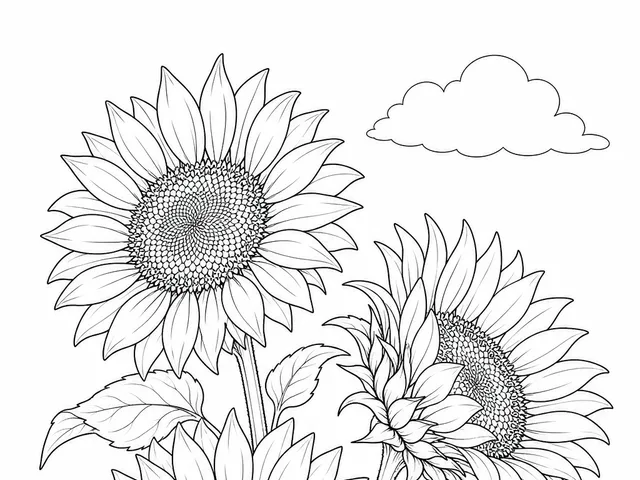
Same lupine photo, second treatment: keep only the flower spikes and star-shaped leaves.
Put the same subject in a new scene
Third treatment of that lupine: keep the plant, place it in an early-summer garden with a soft fence.
Several compositions from one photo
The grape book asked for three views of the same cluster instead of one outline.
Close-up — one hanging cluster among broad leaves.
Two clusters — same vine, two bunches at different heights.
Looking up through the canopy — large cluster in front, a smaller one behind.
Want to make something similar?
We'll open the book wizard with this idea already filled in so you can customize it.
Attach your grape photo (or any plant photo) with Add reference images before you generate. The button prefills the description; it can't attach the file for you.
Prompt patterns that work
Copy these and swap the subject:
If a drafted prompt invents a mug, a vase, or a random animal, rewrite it so the plant in your photo is the first noun.
What photos work best
- One clear subject. Fill the frame. Tiny objects in a busy yard are harder to lock onto.
- Decent light. Heavy shadows hide the outline the model needs.
- Busy backgrounds are fine if you plan to prompt them away (“simplify” or “empty background”).
- A sharp phone photo is enough. You don't need a studio shot.
You can attach up to three images. For Grok, the first image can influence framing — put your main subject first. GPT Image 2 (used in these examples) is less picky about order.
Want a cartoon character to stay the same across pages? Upload a character sheet instead, and follow Keep Characters Consistent Across Coloring Pages.
Tokens
You still pay for each generated page, at the model and quality you chose. Attached reference images add a per-image surcharge on every generated page (on GPT Image 2, that's a few extra tokens per reference).
Uploading the photo is free. Drafting and editing prompts is free. PDF download is free.
See What Costs Tokens (and What Is Free) and live rates on Pricing. Draft at Low, then regenerate keepers at Medium or High.
Frequently asked questions
How do I turn a photo into a coloring page?
Open Create with AI, turn on Add reference images, drop the photo, and describe the result — for example, Turn this reference photo into a coloring page. Simplify the background. Review the prompts, then generate and print the PDF.
Can I make a whole coloring book from one photo?
Yes. Set the page count to more than one and ask for different compositions or scenes, like the three grape pages. The same reference is sent with every page.
What photos work best?
A well-lit image with one obvious subject. You don't need a studio shot; a sharp phone photo is enough. If the background is busy, say “simplify” or “empty background” in the prompt.
Is this a photo filter or real coloring-page line art?
It's generated printable line art: black outlines on white, sized for coloring. It isn't an edge-detection filter sitting on top of the photo. Covers may use flat color fills; interior pages stay outline-only.
Can I simplify, empty, or replace the background?
Yes — that's what the gooseberry, lupine, and garden examples do. Say so in the description. If the first page still looks busy, edit that page’s prompt and regenerate only that page.
Can I put the same subject into a new scene?
Yes. Keep the subject “from the reference” and name the new place (garden bed, fence, a different viewpoint). That is restaging, not a 1:1 copy of the photo.
How many reference images can I attach?
Three per book. One is enough for every example in this article.
Do reference images cost extra tokens?
Yes. Each attached reference adds a small surcharge per generated page, on top of the model’s page cost. Check the table on Pricing.
Should I upload a photo or a character sheet?
Upload a photo when you want a real plant, pet, or place turned into line art. Upload a character sheet when you already have a cartoon design you want repeated — that's Keep Characters Consistent Across Coloring Pages. Either file type goes in the same Reference images field.
Where do I add them — wizard or book settings?
Both. Use Add reference images in the wizard for a new book. Use Book settings to change them later. Future AI pages pick up the new set.
Try it yourself
Attach a garden photo (or any clear photo), keep the prompt about what to change, and generate a short set before you print a long book.
Remember to turn on Add reference images. The try-it button prefills the description; it can't attach the photo for you.
For first-book mechanics (quality, PDF, covers), stay with Create Your Own Coloring Book.
You might also like
More articles with overlapping topics.