
Create Your Own Coloring Book (Print-Ready PDF)
Make your own custom coloring book with AI—from a plain-English idea to a print-ready PDF. Step-by-step wizard walkthrough with a free sample.
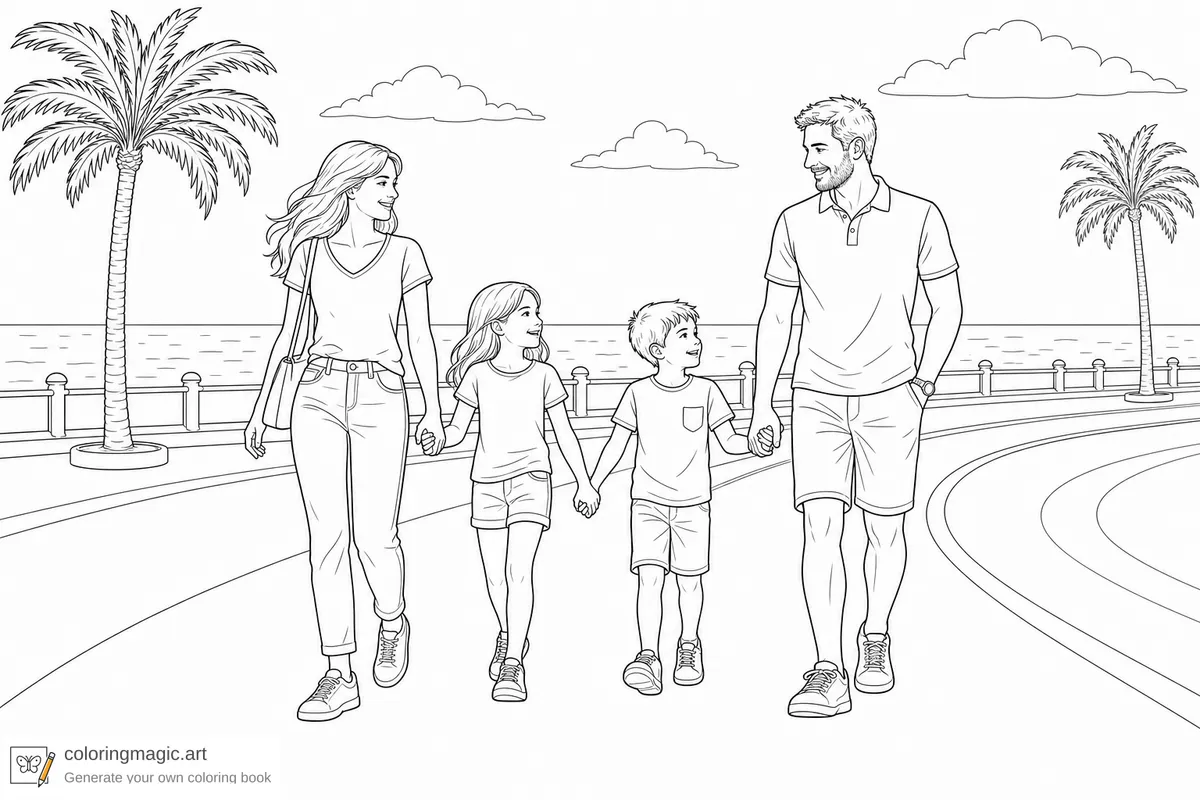
You do not need drawing skills or design software to make a coloring book. You describe what you want in plain English, review the page prompts the wizard writes for you, and download a print-ready PDF when the pages are done.
This guide walks through a real example: a four-page family trip to Nice — a promenade walk, a pebbled beach, gelato in the old town, and a bay view from Castle Hill. The same steps work for kids' books, classroom sets, party favors, or calm adult pages.
If you want a quick product overview first, read What Coloring Magic Art Can Do. Want to preview line quality before spending tokens? Try the free weekly samples on the homepage.
What you need
- Register and sign in to Coloring Magic Art
- Tokens to generate images (see pricing)
- A few minutes and one clear idea
Step 1 — Open the book wizard
Go to My Books and click Create with AI. The wizard opens on Step 1 of 3 — Configure, where you describe the book and pick your settings.
Step 2 — Describe your book and set the basics
Write your idea in normal sentences. Say who the book is for, what happens, how many pages you want, and whether you prefer a wide or tall layout.
For our Nice example, the whole brief was:
The wizard reads your text and can highlight settings it detected — page count, layout, and age range. You can still change anything before you continue.
For a first pass, leave quality on Low. It costs fewer tokens per page, so you can generate the set, see whether the scenes feel right, and tweak prompts before you spend more on the final run.
Settings at a glance
| Setting | This book | In plain language |
|---|---|---|
| Page count | 4 Pages | How many coloring pages to generate (1–20 in the wizard). |
| Layout | Horizontal page | The PDF shape when you print — portrait (vertical), landscape (horizontal), or square. |
| Age range | Adult (Relaxed) | How complex the linework should be. Kids ranges use bigger, simpler shapes; adult ranges can be calmer or more detailed. |
| Image model | GPT Image 2 | Which AI draws the pages. GPT Image 2 is the default and a solid first choice. |
| Quality | Low/High | Start at Low to test scenes cheaply; regenerate at Medium or High for the version you will print. |
Other models add their own knobs — Grok has Resolution, Gemini has Image size and Thinking. For more on what quality changes, see Why Image Quality Matters for Complex Adult Mandalas.
Draft low, then raise quality
A practical workflow:
- Generate at Low — confirm the story, poses, and backgrounds work.
- Edit prompts in the editor if a scene is off — or regenerate individual pages.
- Switch to Medium or High in the editor toolbar when you are happy with the set.
- Regenerate the pages you want to keep for print.
The screenshots in Steps 5–6 follow that path: a Low-quality first run, then the finished pages you see below were regenerated at High for the downloadable PDF.
Click Draft pages when you are happy with the description and settings.
Step 3 — Review the page prompts
On Step 2 of 3 — Prompts, the wizard drafts one prompt per page, each with a short title. This is the best time to fix anything before images are generated.
For the Nice book, the wizard suggested the title Family Trip to Nice (4 Pages) and four scenes:
- Promenade Stroll — the family walking the Promenade des Anglais
- Beach Pebbles — sitting together on the pebbled shore
- Old Town Gelato — gelato cones in the old town
- Castle Hill View — looking out over the Baie des Anges
You can edit the book title, expand any prompt, change wording, or remove a page you do not want. Nothing is generated until you click Generate.
Step 4 — Start generation
After you click Generate, the wizard shows Generation started on Step 3 of 3. It opens your project and begins preparing the pages. You will be redirected to the editor automatically.
If a page fails because of a technical problem on our side, tokens for that attempt are refunded automatically.
Step 5 — Watch your pages generate
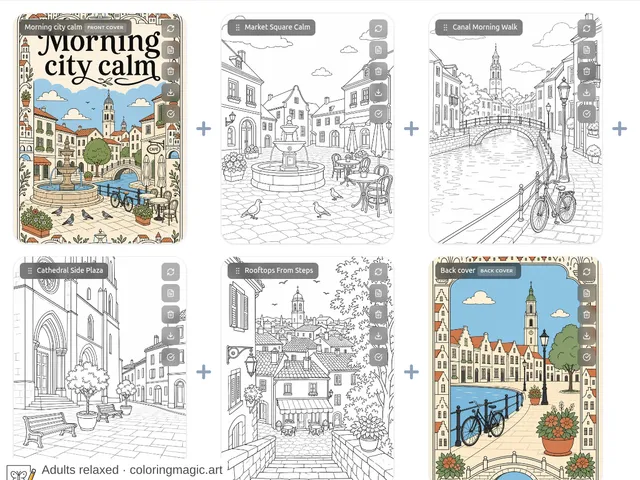
In the editor, each page starts as a placeholder. Titles and prompts are already in place; images fill in one by one as generation runs.
You do not need to stay on this screen. Come back when the progress indicators finish.
If a scene is not quite right, edit its prompt or hit regenerate on that page while quality is still on Low. Fix the story first — sharper lines can wait.
Step 6 — Raise quality and download your PDF
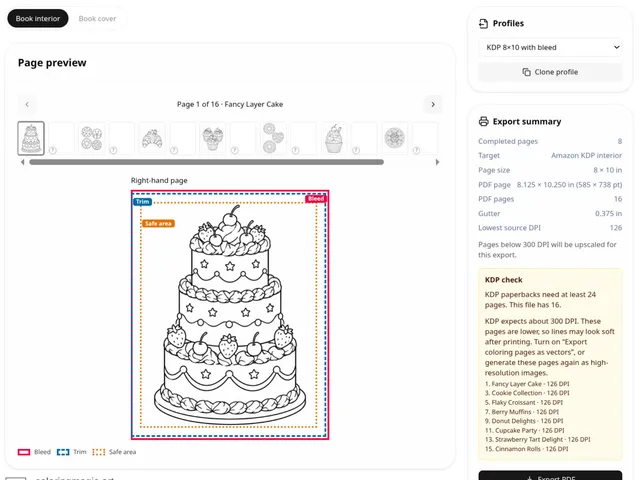
Once the scenes look right, open the Quality dropdown in the editor toolbar and switch to Medium or High. Regenerate the pages you want in the final book, then use the download icon to get one print-ready PDF. The layout matches what you picked in the wizard — this book is horizontal (landscape). That download uses the book's printing profile. Home A4 follows the layout from the wizard. For an Amazon KDP trim, bleed, and margins, see Printing Profiles for an Amazon KDP Interior. The same pages are reused, and nothing is generated again.
You can also grab the watermarked sample from this walkthrough:
Print at home or take the file to a copy shop. Staple the pages if you want a little booklet.
The four finished pages
Here is what the four prompts became after regenerating at High quality — the linework in the downloadable PDF below.
Page 1 — Promenade Stroll
Page 2 — Beach Pebbles
Page 3 — Old Town Gelato
Page 4 — Castle Hill View
Optional: a photo or a consistent character
The Nice example starts from a typed idea. You can also attach reference images in the wizard:
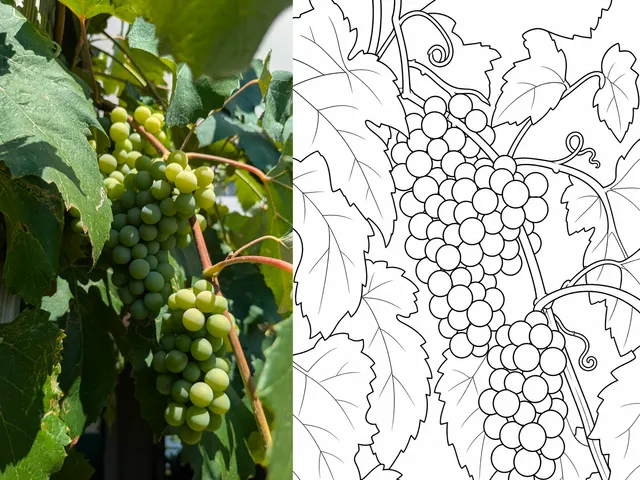
- A photo of a plant, pet, or place — turn it into coloring pages and still change the background.
- A character sheet — keep the same face and markings while scenes and outfits change.
Uploading the file is free. Generated pages with a reference attached cost a small extra token surcharge (see Pricing).
Quick tips for your first book
- Draft low, print high. Generate at Low to test scenes cheaply, then regenerate at Medium or High for the version you will print.
- Start small. Four to eight pages is enough for a first try.
- Be visual. Name the subject, the setting, and how busy the background should be.
- Read the prompts. It is easier to fix wording in Step 3 than to regenerate a page you already paid for.
- Match age range to the colorist. A detailed prompt with a young kids range can still look too busy — pick the range that fits who will color it.
- Try before you buy. Weekly samples let you download real PDFs by age group with no account.
Try it yourself
Pick one theme — a pet, a holiday, a classroom unit, a quiet mandala night — and run it through the wizard once. You will know quickly whether the style fits what you had in mind.
Want to make something similar?
We'll open the book wizard with this idea already filled in so you can customize it.
You might also like
More articles with overlapping topics.